As I’ve brought various different desserts to my friends at Bard Queens over the years, one of my most popular has been red velvet cake, becoming one of my staple cakes for various birthdays and events. Although it’s not my personal favorite flavor, I love any excuse to make a cake, and always end up eating far more than I intended. Thus, as one of the most requested recipes, I’ve finally decided to share my variation of the red velvet cake, as well as advice on how to go about making one. Whether you’re looking to make a cake for a birthday party, family member/friend, or just to eat all by yourself (as you should 😉 I highly recommend trying this red velvet cake recipe out!
Total baking time: ~2 to 3 hours
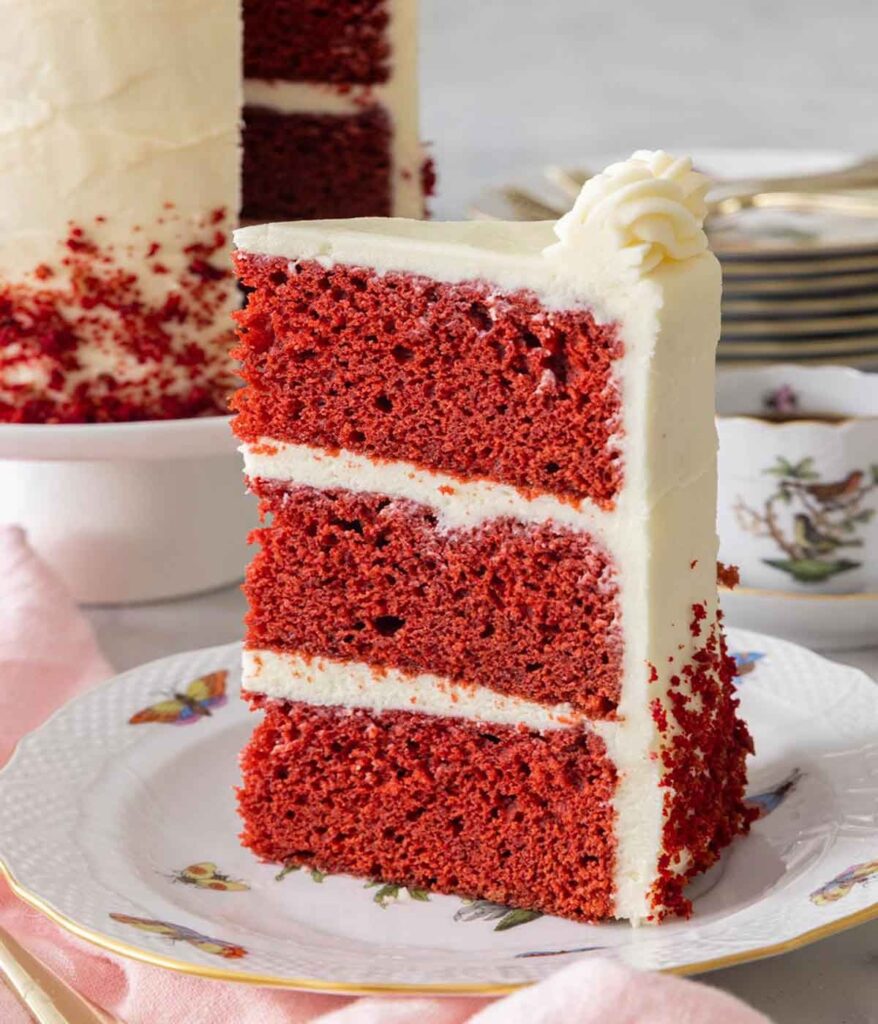
Servings: 3-layered 6-inch cake or 2-layered 9-inch cake
Ingredients:
For the cake:
▢ 2 ½ cups all-purpose flour
▢ 1 teaspoon baking soda
▢ 1 teaspoon salt
▢ ½ cup unsalted butter, softened
▢ 1 ½ cup granulated sugar
▢ 2 large eggs
▢ 2 teaspoons vanilla extract
▢ 2 tablespoons cocoa powder
▢ 1 cup buttermilk
▢ 1 tablespoon white vinegar
▢ 1 to 2 tablespoons red food coloring
For the frosting:
▢ 2 cups of cream cheese
▢ 1 ½ cups of butter
▢ ¼ teaspoon salt
▢ 1 teaspoon vanilla extract
▢ 4-5 cups of powdered sugar
Instructions:
1. Preheat the oven to 350 degrees Fahrenheit and butter three 6-inch cake pans (or two 9-inch if you prefer).
2. In a bowl, sift the flour, baking soda, and salt. Set aside.
3. Using a handheld or stand mixer, beat the butter until smooth and add in the sugar. Mix until combined. Add the eggs and vanilla, beating well. Finally, add the cocoa powder.
4. In a separate bowl, mix the buttermilk, vinegar, and food coloring together.
5. On a low speed, add half of the buttermilk and flour into the mixing bowl, and when combined, add the rest. Don’t overmix the batter.
6. Evenly distribute the batter to the pans and bake for around 30 minutes or when a toothpick comes out clean from the center. Let the cakes cool for half an hour before attempting to take them out of the pan.
7. When the cakes have thoroughly cooled or you’re ready to decorate the cake, start making the cream cheese frosting by mixing the butter and cream cheese together.
8. Add the salt and vanilla, and then add the powdered sugar incrementally until the frosting is to your liking.
9. Stack the cakes with frosting in between, and you’ve made your own red velvet cake!
My advice:
– Although not really necessary, sifting any of the dry ingredients (such as the flour mixture in the cake and powdered sugar for the frosting) can make your mixture much more consistent and prevent any grainy sort of texture. But hey, if you want one less dish in the sink, the cake will taste fine without it 😉
-If you don’t have buttermilk, you can make it by stirring 1 cup of milk with 1 tablespoon of white vinegar or lemon juice, and then letting it sit for 10 minutes before using.
-Any refrigerated ingredients should be room temperature before using (although if you’re short on time, you can try microwaving in short bursts to warm them up).
-If you don’t have enough food coloring or don’t want any red 40 in your cake, you can completely leave it out; it will taste the same and look a pale brown color (this was actually how the cake was originally made in the early 1900s). However, if you use it, keep in mind that the more you use it, the more vibrant the color will be.
-Don’t place your cakes in the fridge still in the pan, or else the butter will stick to them; instead, wait until they’re out before refrigerating them. If you’ve already made this mistake, run the bottoms of the pan in warm water to melt the butter and then pull them out.
-If the tops of your cakes are domed, cut them off with a serrated knife (this way they’ll be easier to stack).
-When frosting, make one first coat and then put the cake in the refrigerator for around 15 to 30 minutes. Then, when the frosting is cool, apply more in certain areas or scrape it off.
-If you’re using frosting tips, they go inside the bag before the frosting, not on the outside.
-Lastly, if your cake doesn’t look the way you wished, don’t despair; trust me, I’ve been heavily disappointed by my decorations before. At the end of the day, it’s going to taste good, so just do the best you can and try again next time if it isn’t up to your expectations. You got this! 😀
If you liked this recipe, I highly recommend looking at the baking blog “Preppy Kitchen”, where my recipe was adapted from! The author has great recipes, and you can never go wrong with anything they put out, so you should check it out.
Enjoy!